- Apr 20, 2021
 0
0- by A2 CMS Team
One of the first pages customers see when landing on your WordPress site is your login screen. This could be the first or the thousandth time they’ve interacted with your brand, yet each time they must go through this login process before accessing the rest of your site’s information. Due to the repetition of this step, the login page of your site becomes an important touch point during the customer journey and should be updated to match your brand accordingly. We’ve created a step by step guide teaching you how to add your company logo to this page in order to start your brand recognition early!
There are a number of ways, you can add a logo such as:
- A custom 3rd party theme
- 3rd party plugin
- With the help of simple code snippet
Today, we will focus on the code snippet so you don’t have to install any 3rd party themes or plugins. If you are interested on more in-depth information on how to install a custom logo onto your WordPress site rather than your login page, please click here.
Set Yourself Up for Success:
- First, connect to your WordPress FTP or login to your cPanel.
- Locate your theme folder (in this example, we will use “twentysixteen” theme).
- From here, navigate to wp-content/themes/your-theme-name folder.
- Create a folder “assets” and upload your logo image file
These first steps make sure your logo image is uploaded into the right place before you try and put it on your login page.
Begin Placing Your Logo:
- To begin, log in to WordPress as the administrator.
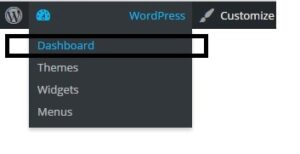
- Then go to your dashboard.
- Follow this path: Click on Dashboard -> Appearance -> Editor
- Once you have reached the editor page, look at the right column where you see the “Theme Files”.
- Under theme files, you will see a list of all the files related to your theme. In this example, we are using “Twenty Sixteen” theme.
- Find the file “functions.php”
- Click on Edit to make changes in the file.
- Add this code snippet at the bottom:
function add_logo_to_login() {
    echo '<style type="text/css">
        h1 a { background-image:url('.get_bloginfo('template_directory').'/assets/images/logo.jpg) !important; width:300px !important;}
    </style>';
}
add_action('login_head', 'add_logo_to_login');
In the above code snippet, “/assets/images/logo.jpg” is the location of the custom logo. This makes sure your logo, as well as the rest of your images, are stored in one folder and easy to access when needed
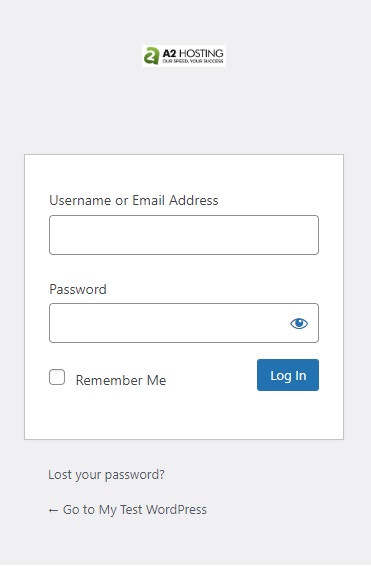
Now, here is what the login page looks like with our logo as an example:
Remember, it is never too early to make customer aware of your brand by editing and personalizing your WordPress site. If you are interested in further WordPress edits, like changing the language of your site or the date and time, we have step by step instructions on how to do that as well in our Knowledge Base. Click here if you are interested in fast and reliable WordPress hosting to further improve your website!


