- Dec 10, 2019
 0
0- by A2 Marketing Team
Consider this scenario – you have one domain you want to use to set up multiple online stores. Maybe you don’t want orders to get mixed together, or you have different people managing certain types of products.
In either case, a multisite setup using WooCommerce might be the solution. WordPress multisite enables you to set up a network of websites under a single domain. Then, with WooCommerce, you can transform all of those websites into individual online stores. It’s a powerful combination that can enable you to start a modest e-commerce empire.
In this article, we’ll go over several situations when it makes sense to use multisite with WooCommerce to manage multiple stores. Then we’ll teach you how to set up that combination in WordPress. Let’s get to work!
Why You Might Want to Use Multisite to Manage Multiple WooCommerce Stores
Whenever you set up a new website, you need at least two things: a domain name and a hosting plan. Some hosting plans enable you to launch multiple sites, all while paying one single fee.
If you’re working with multiple WordPress websites, however, that still involves managing each of them separately. You’ll need to worry about separate login information, individual customizations, updates, and more.
When you add e-commerce functionality into the mix, things get even more complicated. Every store needs to keep track of orders, users, purchases, and so on. Ideally, if you want to run multiple stores, you should have one central hub that enables you to access and monitor all of them.
WordPress multisite can be a great option in that situation, since it enables you to set up multiple stores with a single installation. This approach also works if you want to create one single online store, but break it down into categories, each with its own product catalog.
Keep in mind, though – we’re talking about running multiple online stores using a single web hosting plan. That means whichever provider you choose needs to be blazing fast, or your stores won’t offer the best customer experience possible.
How to Set Up WooCommerce on WordPress Multisite (In 3 Steps)
The first thing you’ll need to do is enable multisite, for which you’ll need a new WordPress installation.
Step 1: Enable WordPress Multisite
Some web hosts enable you to set up a multisite installation when you install WordPress. However, in most cases you’ll need to turn on multisite manually.
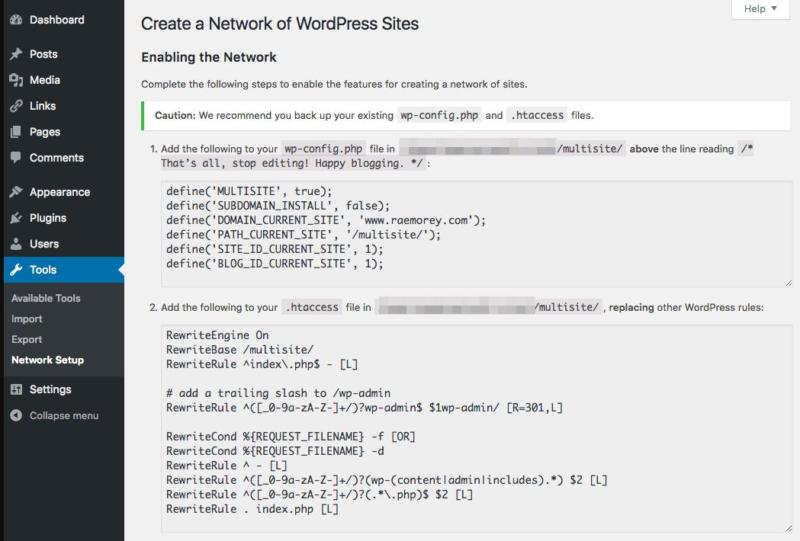
That process involves manually editing a WordPress core file. Fortunately, we’ve covered this step in its entirety within a previous tutorial. Check it out, and once you have a multisite network up, you can get to work on adding in e-commerce functionality.
Step 2: Install WooCommerce on Your Network
For this next step, we’ll go ahead and assume that you’ve already added some websites to your network:
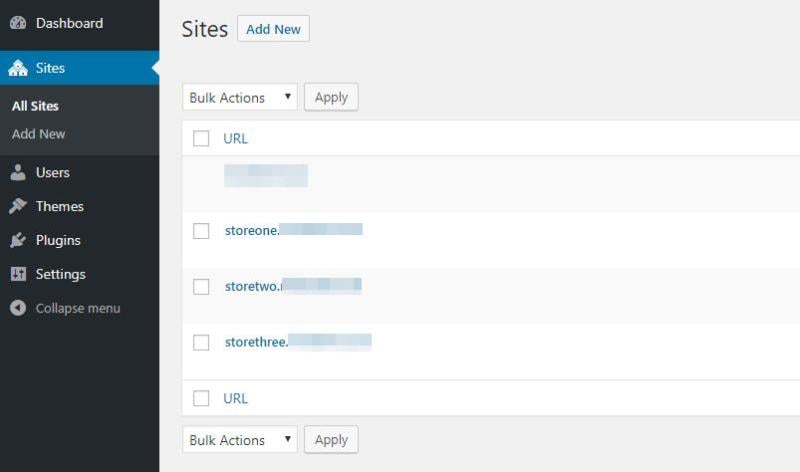
So far, each site is using a clean WordPress installation. To add e-commerce functionality, you’ll need to use plugins, which means picking up (you guessed it) WooCommerce.
Adding new plugins to multisite works much the same as with a regular WordPress install. The only difference is that you need to add plugins at a network level.
Once a plugin is installed for the network, you can choose which websites to activate it for. Individual websites can’t install plugins that aren’t set up for the entire network, however.
As the admin, it’s your role to install WooCommerce, so go ahead and do that now:
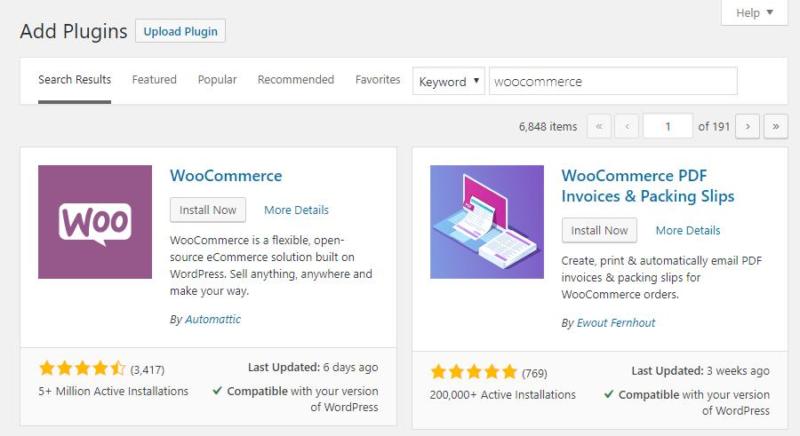
Although multisite enables you to activate plugins for the entire network, each site still uses an individual copy of the plugin. That means you can configure each site’s WooCommerce setup differently, depending on what it needs.
Step 3: Configure WooCommerce and Start Adding Products
To configure the first store within your network, jump to any of the sites you set up before, which you can access from Sites > All Sites.
Once you enter one of your store’s dashboards, you’ll see the option to use the WooCommerce onboarding wizard. We recommend following it, since it makes configuring WooCommerce simple:
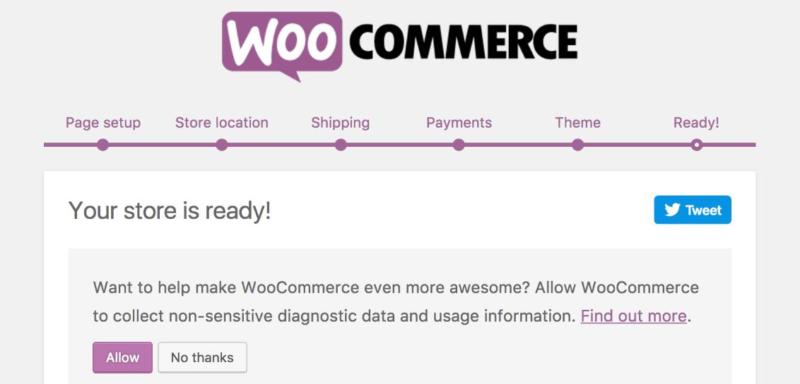
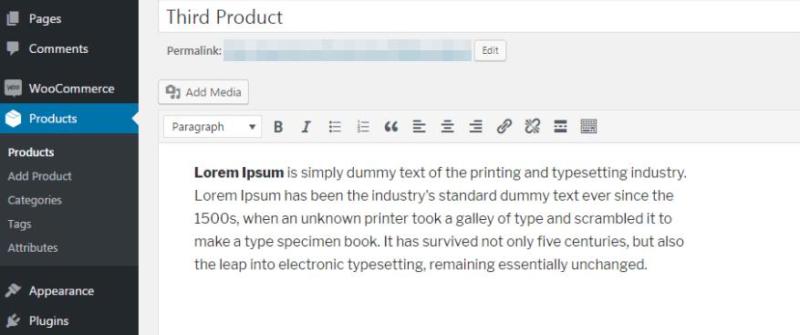
When your store is ready, you can add products in the Products > Add New tab. This step works precisely the same as with any other WooCommerce installation:
There are a few things you’ll need to keep in mind when using WooCommerce within a multisite network, however:
- The stores within your network don’t share user registrations.
- Registering a product on one site doesn’t make it available for the rest of the network.
- You can only update WooCommerce at a network level.
- Not every website on the network needs to activate the WooCommerce plugin.
That last part means you can have one site set up as a blog, in order to drive traffic to your online stores (just to give one example).
Finally, multisite networks share the same theme, so using a multipurpose theme is usually the best option. That way, you have options when it comes to customizing the style of each store within your network.
Conclusion
Imagine being able to manage multiple online stores, all while using a single domain and hosting plan. If that sounds like something that might make your life easier, what you need is a WordPress multisite network running WooCommerce.
Setting up a multisite network is easy, and so is installing WooCommerce. Then, it’s just a matter of adding products to each store and making sure you don’t miss any orders. The best part is that you can customize each sub-store as you see fit, since they’re all separate entities.
Image credit: Pixabay.

