- Jul 09, 2021
 0
0- by Kate Meda
If you peruse our Managed WordPress plans, you may find that we offer a free Jetpack Personal License with purchase.
But what is Jetpack? It’s not the traveling jet propulsion backpack you’ll find in sci-fi films. Jetpack is a WordPress toolkit designed to secure, speed up, and backup your website. Not only will your website load faster, but you will have access to automated, daily backups and automated restores, spam filtering, and a 30-day site archive. All of these features are included with a Jetpack Personal License.
So, why should I have a Jetpack license for WordPress?
With a Managed WordPress account, we offer a free Jetpack Personal license for your primary domain. Jetpack includes a myriad of features to enhance your WordPress account including
- Automated Backups. There are various backup plugins available for WordPress. Some we recommend, and others–not so much. Jetpack is a premium module and what sets it apart is how the backup is made. Jetpack will take a backup whenever a change is made to your account. This includes creating and editing new pages, posts, new plugin and theme installations, and any updates made to your WordPress installation. Jetpack also makes restoration easy with its activity log. Simply click an event and Jetpack will allow you to either download the backup or restore your site.
- A Free Content Delivery Network (CDN). Jetpack’s CDN comes with unlimited bandwidth and is completely free.
- Lazy Loading Images. Images are loaded only when users see them instead of loading all at once. The site loads faster as a result and this leads to positive SEO performance.
- Spam Filtering. This automatically clears spam from comments and forms.
- Downtime Monitoring. Jetpack will continuously monitor your site and will alert you when downtime is detected.

How can I install Jetpack on my WordPress account?
Please follow the steps below to install Jetpack to your Managed WordPress account.
- Log in to the Customer Portal.
- If you do not know how to log in to the Customer Portal, please see this article.
- On the menu bar, click Services, and then click My Services.
- Locate the specific MWP account you want to enable Jetpack on, and then click Manage.
- Under the Hosting Information box, click Login to Plesk.
- When the next page appears, click WordPress in the left navigation bar.
- Identify the specific WordPress install you want to enable Jetpack on and click Login.
- Under example.a2hosted.com/wordpress, select Plugins. Jetpack should be under Installed Plugins already if this is a newer account. If it is not, follow the steps below.
- Click Install, and then search for Jetpack. Select Install for Jetpack. Now the plugin will begin to install (this may take a few minutes.
- In the WordPress section of the Plesk control panel, next to Remove, click Manage in WordPress. The Jetpack configuration page appears:

- Click Set up Jetpack.
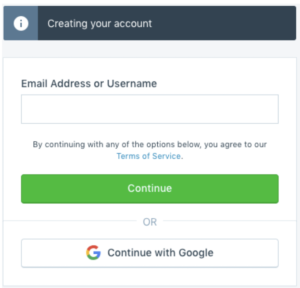
- During the next step, you are prompted to log in to your WordPress.com account. If you do not already have one, you must sign up for one.

- Once you are logged in, you can choose from several options including which plan you would like and what features you want to enable. Congrats, your Jetpack activation is complete! You are redirected to your WordPress install and you are ready to use your account.
Are you having issues installing Jetpack or would you like to know more? Our customer support team is happy to help you.
Related Articles


